


How to Build A Chain Link Fence
How to Build A Chain Link Fence is the step by step instructions to help you. We have a YOUTUBE Channel and these post to help our friends and neighbors with their DIY Projects
How to Build A Chain Link Fence DIY Information
Also, for all the Do it yourself crowd we have a YOUTUBE Channel. In the videos you will find information to help you, so that you can learn how to plan out your project. Included in the videos are helpful tips from the pros we have built fence for more than 40 years. Please visit our channel and follow us for more information soon to come. Also check us out on Facebook and Instagram for upcoming sales.
How to Build A Chain Link Fence Step-by-Step Instructions:
1. Gather Materials and Tools: Before you start, gather all the necessary materials and tools. You will need chain link fence fabric, fence posts, top rail, tension bands, gate hardware, tension wire, post caps, concrete, a post hole digger, a level, a measuring tape, a sledgehammer, pliers, a fence stretcher, and a come-along.
2. Plan and Mark Your Fence Layout: Determine the fence layout and mark the locations for the end, corner, and gate posts. Use wooden stakes and string to outline the fence line.
How to Build A Chain Link Fence Post Holes
3. Dig Post Holes: Use a post hole digger to dig holes for the fence posts. The diameter and depth of the holes should be based on the size and strength of your fence. Typically, a hole should be about 10 inches in diameter and 30 inches deep. Space the fence posts according to the manufacturer’s recommendation or local building code regulations.
4. Install End and Corner Posts: Place the end and corner posts in the holes and ensure they are level and plumb. Fill the holes with concrete and allow it to set according to the manufacturer’s instructions.
5. Install Line Posts: Repeat the process for the remaining line posts, ensuring they are evenly spaced along the fence line. Use a level to ensure each post is plumb and adjust as necessary. Fill the remaining hole space with concrete.
How to Build A Chain Link Fence Frame
Install Line Post and Top Rail: Use tension bands and carriage bolts to attach line posts to the top rail. Ensure they are level and plumb.
6. Attach Tension Bands and Install Top Rail: Slide tension bands onto each corner, end, and line post at the desired height for the top rail. Attach the top rail by inserting it into the tension bands and secure it using carriage bolts and nuts.
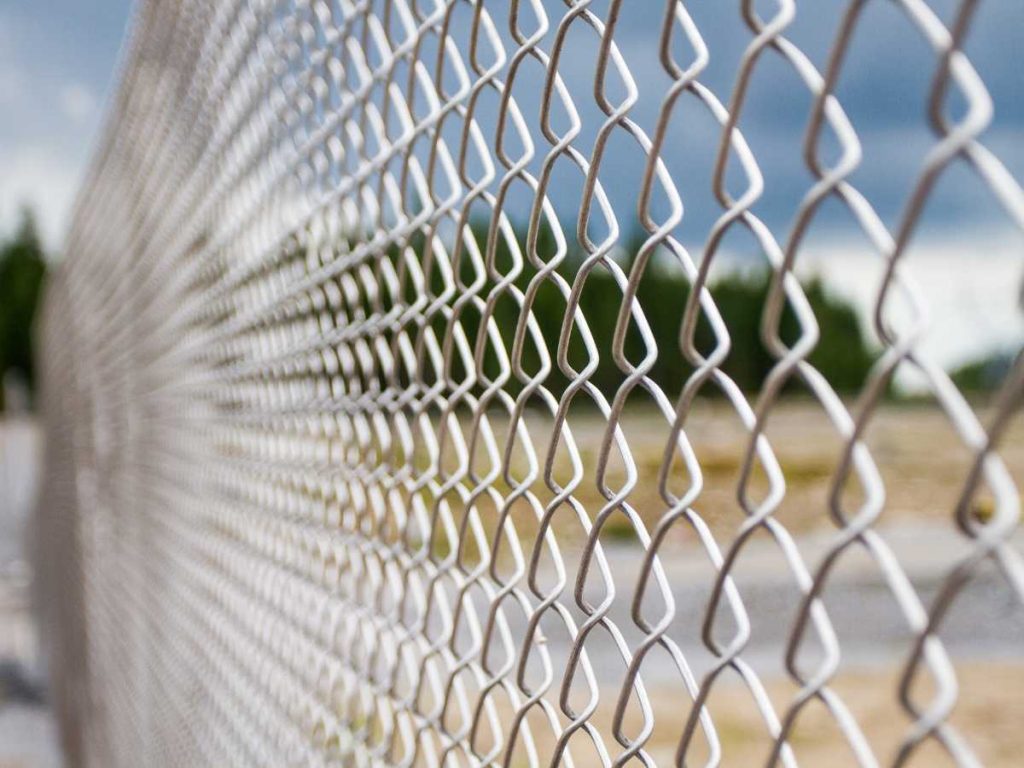
7. Unroll and Attach Chain Link Fabric: Unroll the chain link fabric along the fence line, starting at a corner post. Attach the fabric to the top rail using fence ties. Temporarily secure the fabric to the posts with tension wires.
8. Tension the Chain Link Fabric: Use a fence stretcher and come-along to tension the chain link fabric. Start at one end and work your way to the other, stretching the fabric and removing any slack. Hold the tension with fence connectors.
9. Install Brace Bands and Tension the End Posts: Install brace bands around each end post and attach them to the tension ends of the chain link fabric. Use a fence puller to tension the fabric and secure it to the brace bands using tension rods.
How to Build A Chain Link Fence Gates
11. Install Gates: Attach gate hardware to the gate posts as per the manufacturer’s instructions. Hang the gate and adjust it for proper alignment and functionality.
Better systems will have a ‘true’ gate with better design to help prevent gate sag. Gates constitute the largest quantity of call backs to installers as they can be tricky, are usually the only part of the fence designed to move, and are often underestimated when designed and installed. A gate is a bad place to ‘skimp’ on your fence project as it could cause hours to years of aggravating maintenance when adjusting, realigning, and replacing parts and hardware.
You will also find a variety of quality gate hardware sets available to compliment gates. Better hardware will be designed to mount to two sides of the gate hinge post and often the gate upright itself which allows for multiple points to install screws or ‘thru-bolts’.
Avoid hinges which are single dimensional and will only allow you to drive screws into the face of the gate. The gate post will easily be pulled from both during wind.
The same principle will apply to latches and having attachment point on both sides of a gate post and gate upright. When choosing a low-to-no maintenance fence, use stainless steel hardware. Which has been powder coated, or a quality polymer piece of hardware.
Installing regular painted steel hardware on a vinyl fence will cause rust stains to bleed down the face of your new fence in a few years.
Worse yet, you won’t be able to replace it with better hardware without then seeing old holes in your fence and gate where the old cheap hardware used to be.
How to Build A Chain Link Fence Finishing
12. Install Tension Wire: Attach tension wire to the bottom and top rail, weaving it through the end, corner, and line posts. Secure the tension wire using tension
bands.
13. Install Post Caps: Place post caps on each post to protect them from water damage and enhance the appearance of the fence.
14. Test and Finish: Walk along the fence to ensure it is secure and stable. Trim any excess chain link fabric if necessary. Clean and remove any construction debris from the site.
It is important to check local building codes and regulations before starting any fence installation project and always refer to the manufacturer’s instructions for specific guidelines and requirements.